 Recently I re-opened my Amazon Prime account, and in the last few days I’ve spent WAY more than I probably should have on stuff on Amazon. One of the things I’m trying to do though, is get my office more organized, and to that end, my husband suggested I order myself a Brother P-Touch Label Maker – he uses one for his work and likes it a lot. So I did a search on Amazon and of course, I found one. I tried using it a little bit last night and found it was surprisingly easy to use – didn’t really have to read the instructions a whole lot to figure out how to use it. In this post I’ll explain how to use it, and what I plan to use mine for, as well as other things you can use a Brother P-Touch label maker for.
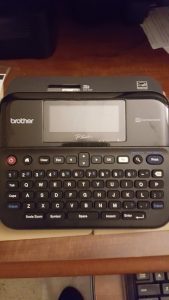
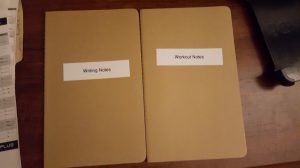
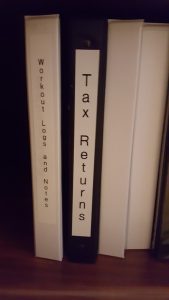
The P-Touch label Maker I ended up buying was the Brother P-Touch PT-D600 Label Maker. It has a color display, and I can also connect it to my PC, although I haven’t done that yet. I actually found it was pretty easy to use – the label tape loaded easily (it comes with some black on white label tape, but I also ordered some additional black on white label tape, one roll in the 1 inch with and another in the 1/2 inch width. When I plugged in the label maker and turned it on, the first thing that came up was a menu showing me the option to make a new label – I selected that, then started typing my text. The text was too small on the first few labels I made, but I did figure out how to change the width of the text. I started by making labels for the fronts of a few of my Moleskine Cahier Journals as well as labels for the spines of a few of my three-ring binders:


I also want to use the half inch label tape to make new file folder labels for some of my file folders – that will probably be my project for tonight. I will post more updates as I continue to get my office organized.
Leave a Reply